How to Organize Your ESL Teaching Materials Library (and Save Hours)
Table of contents(12 sections)ShowHide
Teachers rarely struggle because they have too few resources. The real problem is having worksheets in Downloads, videos in YouTube playlists, games in browser bookmarks and lesson plans scattered across several folders. When class begins, the best resource is not the one you saved—it is the one you can find quickly and use confidently.
Why ESL Resource Libraries Become Chaotic
Most collections grow without a system. A teacher saves a useful PDF today, a Wordwall game next week and a video several months later. Each item may be good, but it is stored according to where it came from, not when it will be used.
This creates familiar problems:
- The same worksheet is downloaded more than once.
- File names such as
worksheet-final-2.pdfreveal nothing useful. - Resources are organised by format but not by lesson.
- Teachers forget whether an activity suits beginners or older learners.
- Preparation becomes a search exercise instead of lesson planning.
Use One Simple Structure: Level → Topic → Lesson
Organise materials in the same order that you make teaching decisions.
- Level or course: beginner, elementary, intermediate—or a specific book.
- Topic: family, food, clothes, hobbies or travel.
- Lesson or unit: the exact teaching sequence students will follow.
Inside each lesson, keep only the resources needed to teach it:
- Core presentation or lesson slides
- Teacher notes and speaking questions
- Vocabulary and pronunciation support
- One or two useful videos
- Practice games
- Printable worksheet
- Homework or follow-up task
This is more useful than maintaining separate master folders for every PDF, video and game because the complete lesson is available in one place.
Build a Three-Layer Lesson Library
Not every resource has the same purpose. Give each lesson three clear layers.
1. Core lesson
This is what every class needs: the teaching objective, target vocabulary, grammar or sentence pattern, presentation and speaking practice.
2. Reinforcement
Add optional games, videos, songs, role-plays and extra questions. Choose only a few strong resources rather than saving ten versions of the same activity.
3. Follow-up
Keep a printable worksheet, vocabulary practice or homework task ready for students who need more practice. With this structure, you can shorten or extend a lesson without searching elsewhere.
Give Every File a Useful Name
A consistent file name should answer four questions: level, topic, purpose and version. For example: Book-2_Clothes_Speaking-Cards_v1.pdf is much easier to recognise than: clothes-new-final.pdf Use the same language for folders and files. Decide whether you call a resource “Food,” “Meals” or “Eating” and remain consistent so search works properly.
Keep a Small Resource, Not Every Resource
A useful teaching library is curated, not enormous. Review it once or twice each year and remove:
- Broken links
- Duplicate worksheets
- Activities you never use
- Videos with poor sound or outdated information
- Materials that no longer match your students or curriculum
If two resources teach the same skill, keep the one that is clearer, faster to prepare and more engaging for students.
How Visual English Organizes the Work for You
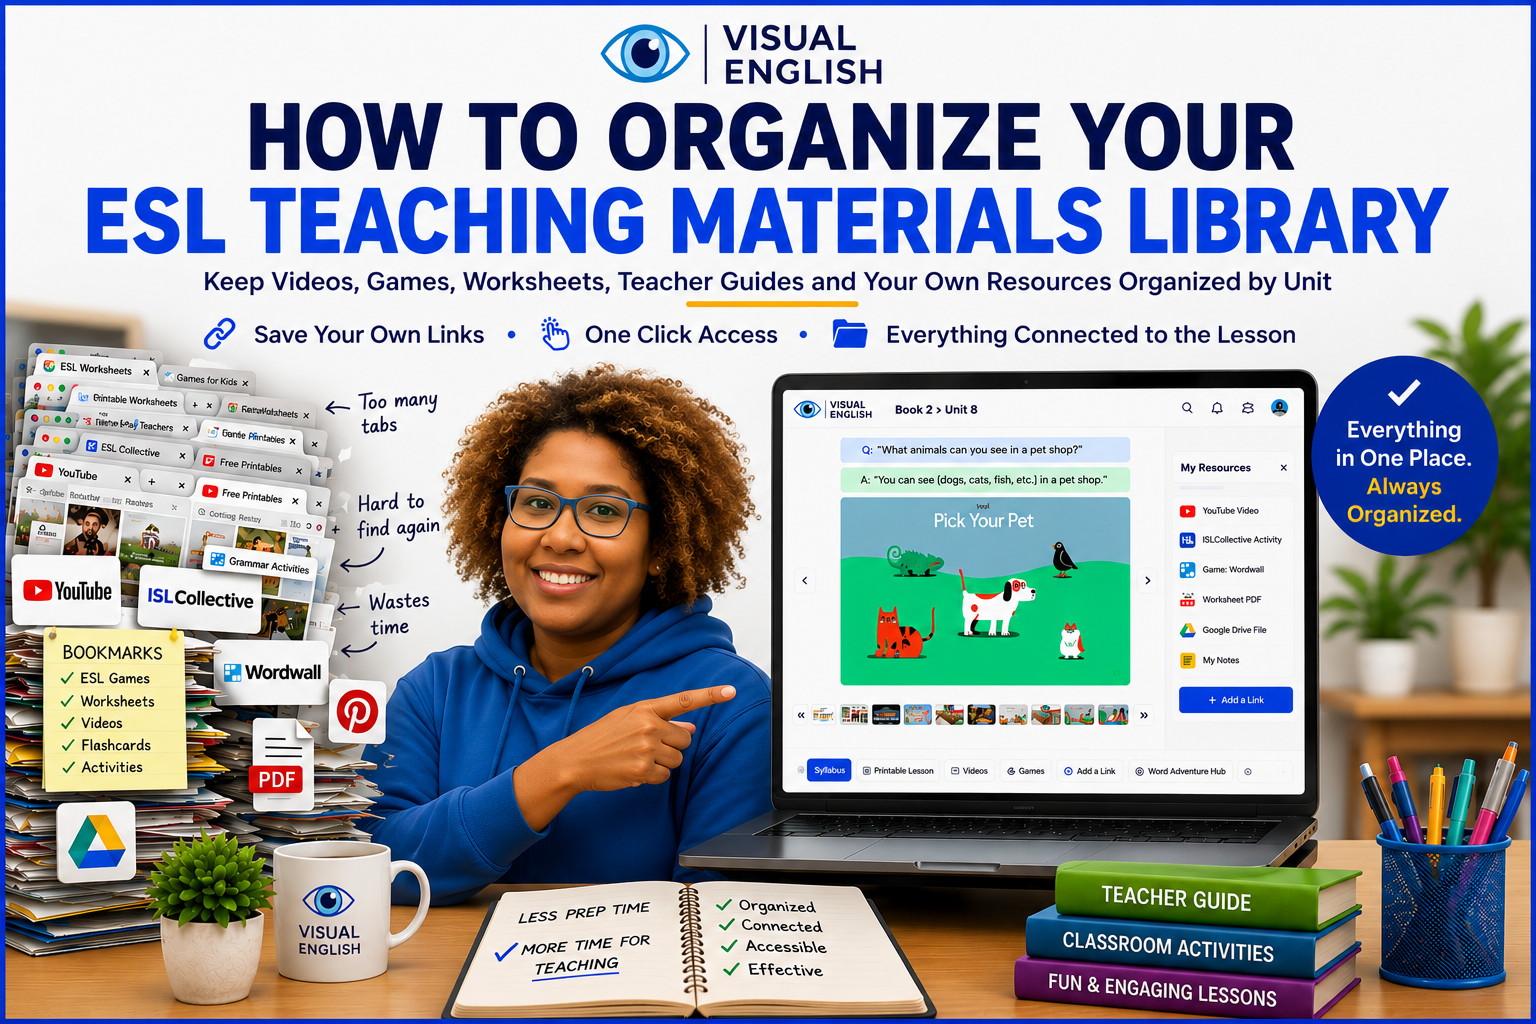
Visual English is built around the same level → book → unit structure. Instead of assembling every lesson from unrelated websites, teachers open one unit and find its connected teaching materials together. Depending on the unit, the platform brings together:
- Visual lesson slides and speaking prompts
- Structured vocabulary and question-and-answer practice
- Teacher guides and lesson ideas
- Unit videos
- Interactive games
- Vocabulary Hub practice
- Printable materials
- Class and homework tools
The curriculum contains 10 books and 178 units, so teachers can follow a clear sequence instead of deciding from scratch what to teach every week.
What This Looks Like in a Real Teaching Week
Imagine that three classes are working at different levels.
- A younger class is learning about My Family.
- Another class is practising prices in Let's Go Shopping.
- An older class is discussing interests in Free Time.
Each class has a defined book and unit. The teacher can reopen the correct lesson, use its visuals, choose an appropriate game or video and continue from the same point next time. There is no need to rebuild the topic from separate bookmarks.
Add Useful Links Without Creating Another Bookmark List
Teachers can submit a helpful external link from a unit's Teacher Resources panel. The link is attached to that book and unit and submitted for administrator review. The teacher who added it can see their pending submission; approved resources become available in the unit.
This keeps shared resources relevant and prevents the platform from becoming another unfiltered list of links.
Use Visual English as the Core, Not a Limitation
An organised curriculum does not mean every class must be identical. Use the Visual English unit as the reliable core, then adapt around it:
- Skip questions that are too easy.
- Add a personal example from your students' lives.
- Extend a topic with a role-play.
- Choose a game for extra repetition.
- Assign vocabulary or homework after class.
The structure remains stable while the teaching stays personal.
A 10-Minute Weekly Organisation Routine
At the end of each teaching week:
- Delete or archive resources that did not work.
- Rename any new files clearly.
- Place each useful item inside its level, topic and lesson.
- Record where each class stopped.
- Choose the core lesson for the following week.
Ten minutes of maintenance prevents hours of searching later.
Start With the Curriculum, Then Add What You Need
If your current library feels overwhelming, do not reorganise every old file in one weekend. Begin with the next lesson you are teaching. Create one clear home for that lesson, keep only the strongest resources and repeat the process as you teach.
Visual English gives teachers the organised starting point: books, units, lesson materials, games, videos and teacher tools connected through one curriculum. Explore all Visual English lesson topics → See Visual English plans and access options →
Conclusion
A good ESL resource library should reduce decisions, not create more of them. Organise by level, topic and lesson; keep a small set of purposeful resources; and review the collection regularly. With a structured platform doing the organisational work, teachers can spend less time opening folders and more time listening, responding and helping students speak English.
Frequently asked questions
What is the best way to organise ESL teaching materials?
Use a level → topic → lesson structure, then keep the presentation, teacher notes, practice, games and homework for each lesson together.
Should ESL resources be organised by file type?
File type can be a secondary label, but the main structure should follow how you teach. A complete lesson is easier to prepare when its slides, video, game and worksheet are stored together.
How often should I clean my teaching library?
Review it once or twice a year, and spend about ten minutes each week naming new files, removing weak resources and recording where each class stopped.
How does Visual English help teachers stay organised?
Visual English arranges materials into 10 books and 178 units, bringing lesson slides, speaking prompts, guides, videos, games, vocabulary practice, printables and teacher tools into a structured curriculum.
Can teachers add their own links to Visual English units?
Teachers can submit external links from a unit's Teacher Resources panel. Submissions are attached to that unit and reviewed by an administrator before becoming shared resources.